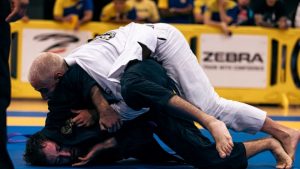
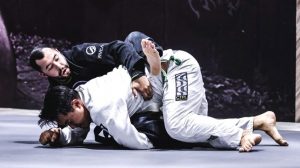
Rolling Back Take: The best grappling position in Brazilian jiu-jitsu is the back mount. Many of the best athletes in our sport choose to attack from the rear since it is a strong position for dominating and dispatching opponents. It frequently takes incredible skill and knowledge of usual reactions to contain opponents while finishing them from behind. Despite the fact that it may already seem difficult, knowing how to get there is a critical issue. This tutorial’s segment on how to properly do it will discuss the rolling back take in BJJ.
The Rolling Back Take

Even while the rolling back take, also known as the rolling back assault, is a practical and very successful move, it is sometimes perceived as a showy, eye-catching technique. Opponents typically defend in a certain manner when passing the guard, leaving them vulnerable to the rolling-back take. This method may be safely practised by anyone. The rolling back take is typically performed from the 3/4 mount, reverse kesa gatame, and turtle stances, albeit it necessitates experience with particular postures.
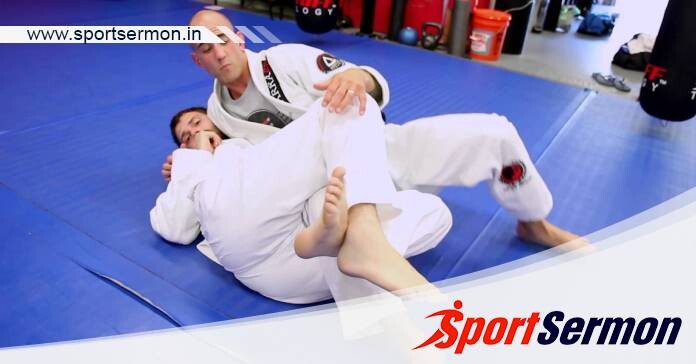
beginning with the 3/4 mount, where your other knee is positioned. To make and keep contact, hook your toes onto the top leg of the opposition. Roll by situating your shoulder behind the opponent’s hips, not above, so that you can rely on precise placement rather than momentum. Avoid rolling over your opponent’s back if at all possible since it is less likely to work. Grabbing the non-hooked leg (the lower leg of the opponent) with your hand is one approach to make sure you’re rolling at the proper angle.
You might also be interested in reading this: Use These 5 Wrestling Techniques In BJJ
As you won’t be able to reach for the lower leg otherwise, this will force you to the proper angle. The opponent’s chances of escaping or countering the roll can be reduced by using it as a controlling point. Even yet, you may still roll without hooking your toes since there are instances when you have to roll quickly to beat the opponent to the back take. It’s a low-risk but high-reward approach because the more comfortable you are with employing flawed entrances, the better you’ll be able to bounce back from a poor attempt that can occasionally place you in side control.
You can also use your foot to shove the heel of the opponent’s upper leg, which is the leg that is hooked. To have the opponent’s hips across your body as you roll is the objective. It’s important to pay attention to how you place your knees since doing so, like in half guard, gives your opponent the opportunity to take your back when you roll. While your opponent’s knee is towards one side, place your knee outside the quarter guard. As a sign that you already have the opponent’s back or are in the truck position, your knee should be directed in the direction of the opponent’s head.
In order to reverse the roll and take your back, be careful not to point your knee away from the opponent’s head. By shifting your knee to the appropriate point, you may effectively block your opponent’s rolling back take by being aware of optimal knee positioning.
You may choose between the calf slicer, groyne stretch, or twister if you stop rolling mid-roll. This puts you in the truck position. The rolling back take is a low-risk, high-reward move because you may give up the roll, unhook your foot, and go to side control if you can’t pull the opponent’s hips over your body.

The most common method of setting up the rolling back take is to transition from the half guard to the 3/4 mount. By shifting your knee to the opposite side while keeping your leg in the half-guard, you may transition into the 3/4 mount. Another comes from the mount and the adversary catches your leg while attempting to run, giving you the chance to roll well.
The reverse kesa gatame, when the opponent facing your body and your arm is on the inside of their armpit, is another high percentage position from which you may perform the rolling back take. From this stance, pull the opponent’s upper knee in your direction and hook it to your heel. To achieve a strong connection as you roll, move by hooking your toes. If you don’t succeed in hooking with your toes, you can switch to the armbar. To do this, grip the opponent’s waist with your top hand (near hand) from below to immobilise their hips. Then, start holding their arm with your other hand while establishing the armbar.
When the opponent succeeds in getting an underhook with their far arm from side control, you can transition into the reverse kesa gatame position with your arm on the inside of the opponent’s armpit. You may convert to side control on the opposing side by coming all the way in, using your arm to block their hip. You are now in a position to carry out the role.
The same goes for moving to side control on the side of the outer arm from the north-south position, where you typically have one arm on the inside of the opponent’s armpit and one arm on the outside. When they land in side control, pull their knees towards you and perform the roll. Another is that you may conduct a back step to put yourself in the same position to complete the roll if you’re trying for a knee slide and your opponent obtains an underhook. The advantage is that your leg is already hooked.
When your opponent turtles, you can fire your knee from the side into the space between their elbow and knee before they can shut it. This enables you to roll through for the rolling back assault, place them in the truck posture, or draw them back and grab the back mount.
Conclusion
If your game revolves around back assaults, the rolling back take is a useful move to take the opponent’s back. Although this method may initially appear difficult, with regular practice and improvement, you’ll rapidly become accustomed to the motions. Always look for the rear; if you can see the back, you can take the back, as John Danaher once said.

